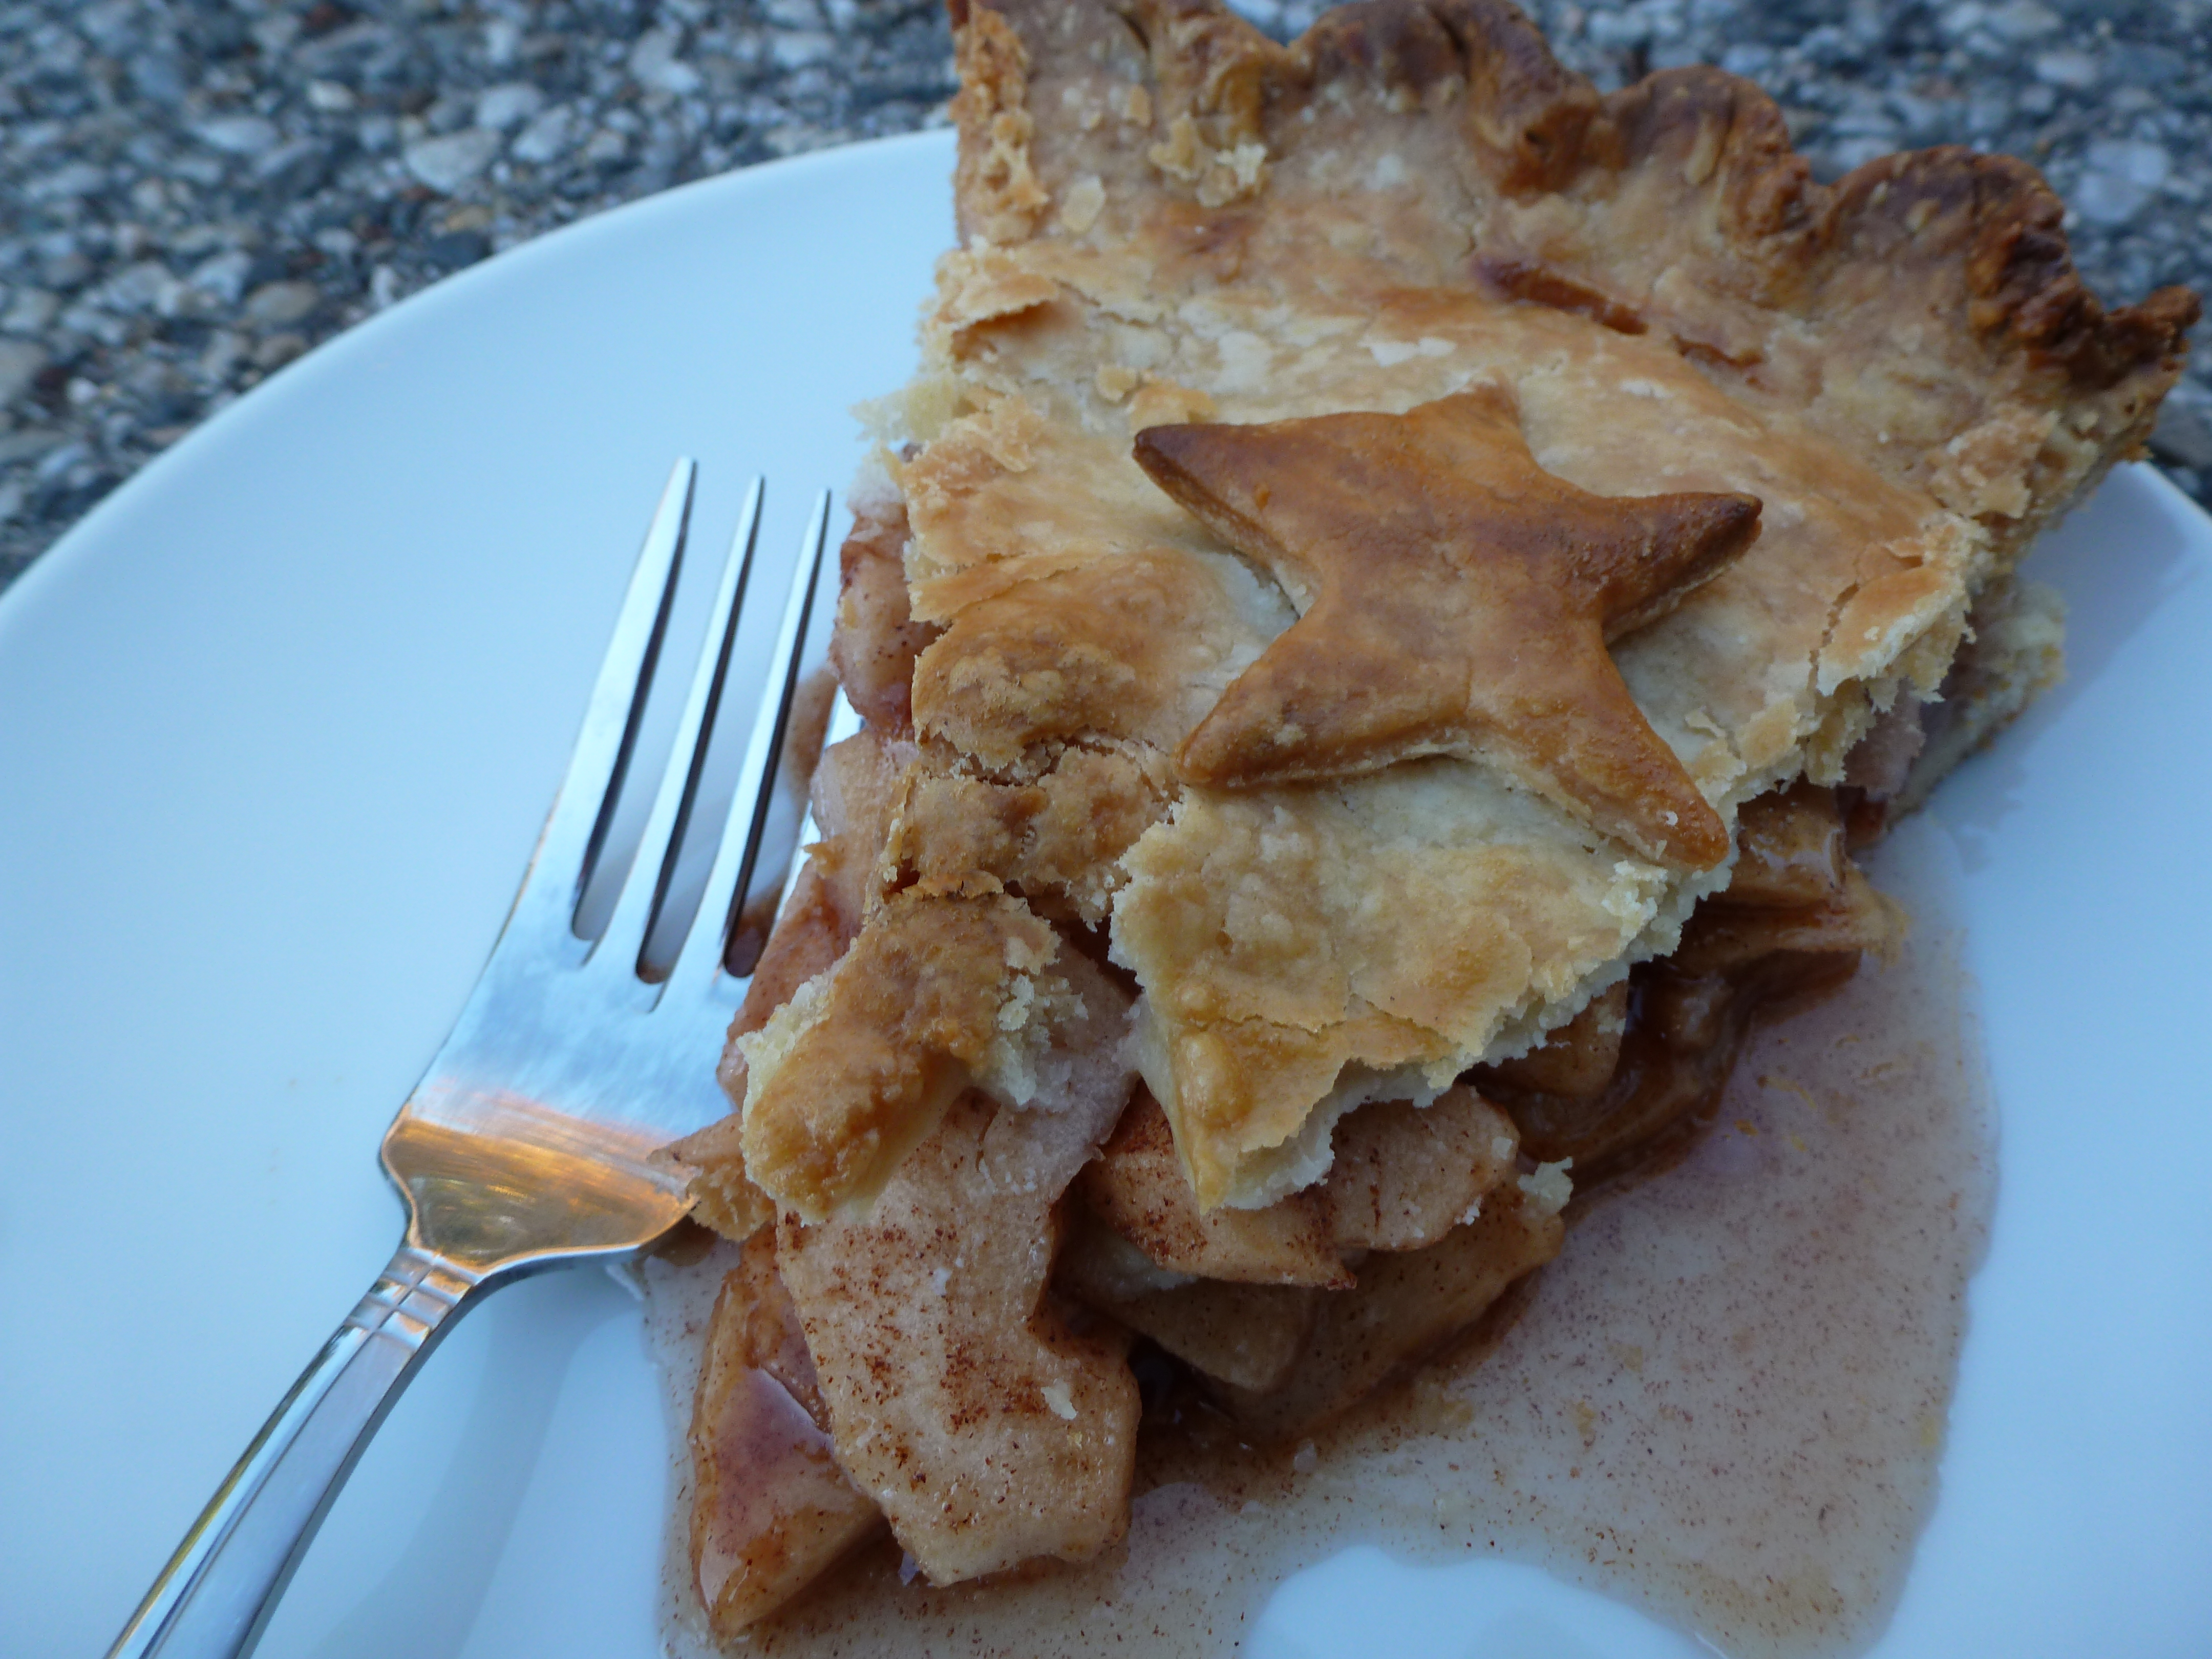
I am a pie snob. If my husband brings a store-bought pie into the house, he knows I will snub my nose and walk silently away. His reply is,”no one makes pies like you, but you didn’t make one this week, so I bought one.” I take great pride in my pies, as do so many pie makers. Nothing compares to a homemade crust stacked with butter and boasting with flakiness. And my apple pie is the center of my pride. Once when our son was little, I made my apple pie in the morning, then my husband, Ed, and I went for a long hike with him in the backpack. When we returned, Ed and I ate the entire pie accompanied by a pot of strong Irish tea. That was our lunch and dinner combined, and worth every calorie.

I have always created pies in stages. In fact, I approach almost all of my cooking with a do-ahead attitude. I don’t enjoy cooking for stretches and then sitting down to eat. I like a break in between, so I always prep in advance. With pies, I make the crust a few days, weeks, or months in advance, then wrap it up and chill or freeze it. Pie dough likes to hang around in the cold; that’s how flakes are created. When I am ready to assemble the pie, I let the dough become close to room temperature then roll out the bottom crust to line the pie plate. This gets covered and returns to the fridge until the pie filling is ready (which could be hours later). Once the filling is piled into the shell, the top crust is rolled and draped over the pie, and the pie gets baked. I have been creating pies in stages for years.
But now I have a trick that is pure genius (though it is not my invention):I freeze the entire pie uncooked and keep it that way until I want to bake it. If a holiday is approaching and making an apple pie seems like an insane undertaking because I’m too busy, I make a pie well in advance, freeze it, and cook it the holiday morning. This even works with a Pyrex glass pie plate – my preferred pie dish because it makes the crust golden brown.This strategy has transformed pie making for me.
Here’s how you do it:
- completely assemble your pie (apple, blueberry, peach, etc.)
- Do not cut slits into the top crust
- Place the pie on a baking sheet and place in the freezer (unwrapped) to freeze completely, about 3 hours.
- Now double wrap the pie using foil first, then a plastic bag. Return to the freezer until you are ready to bake it – up to one month.
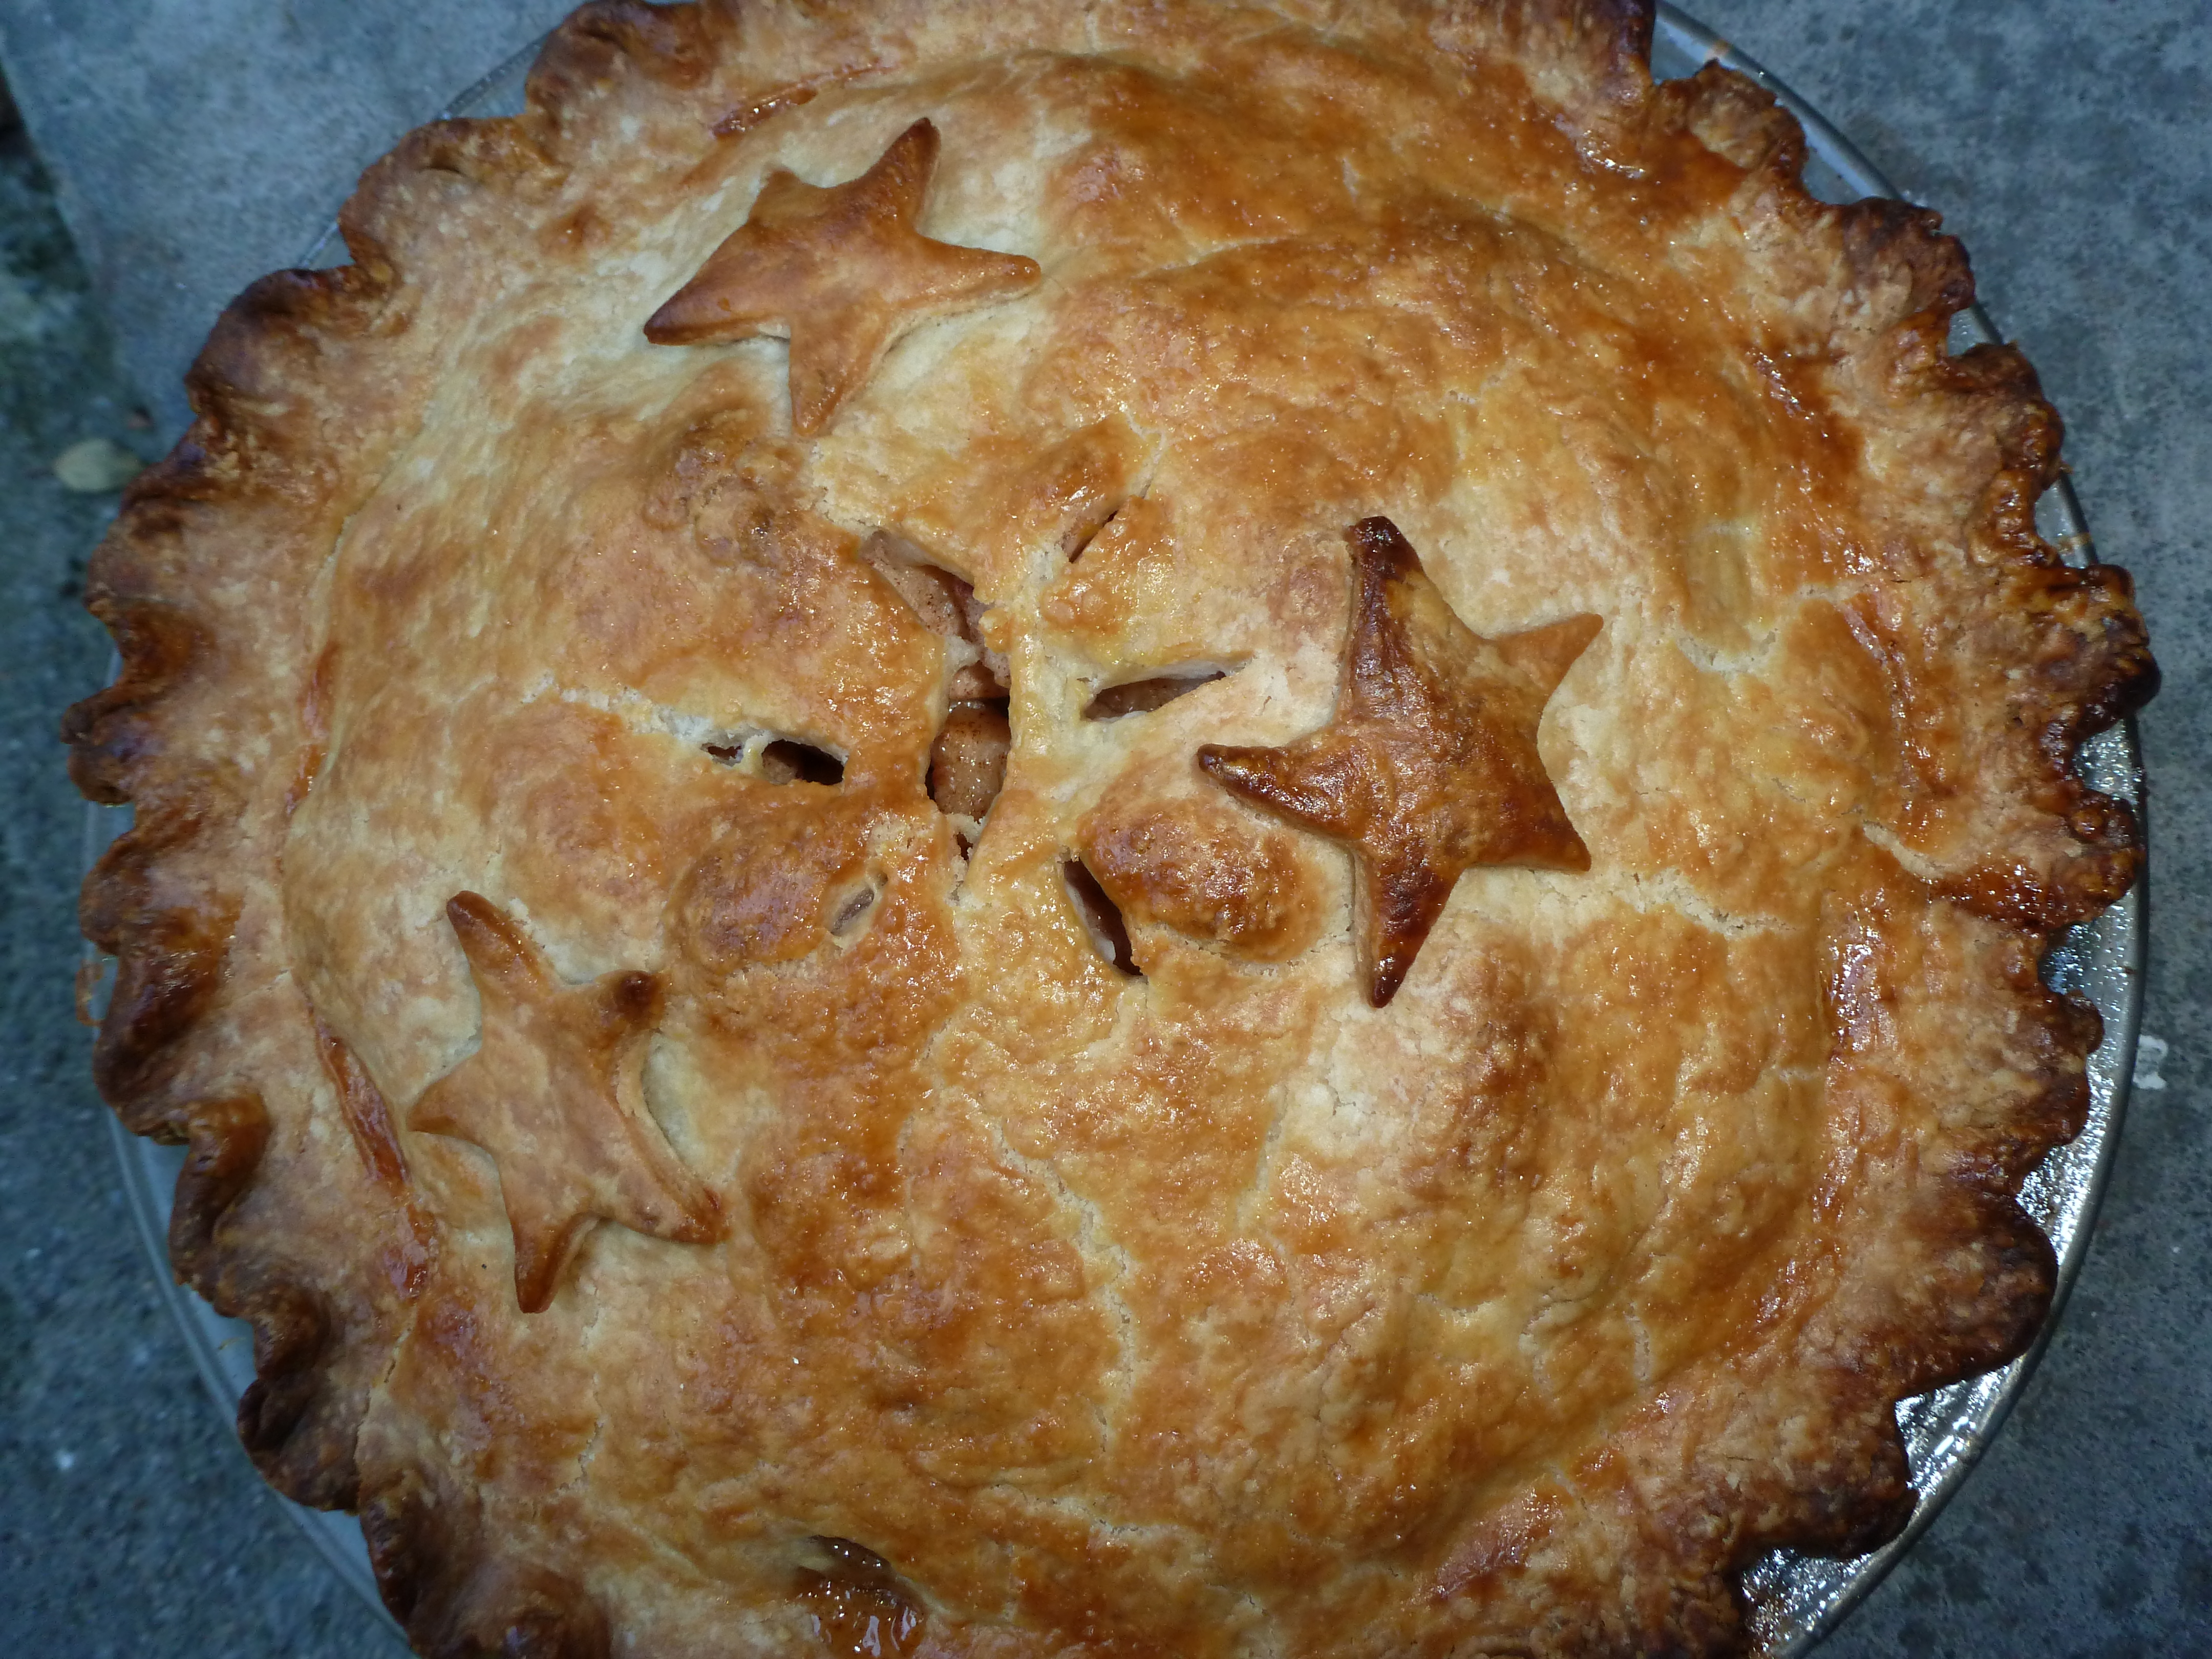
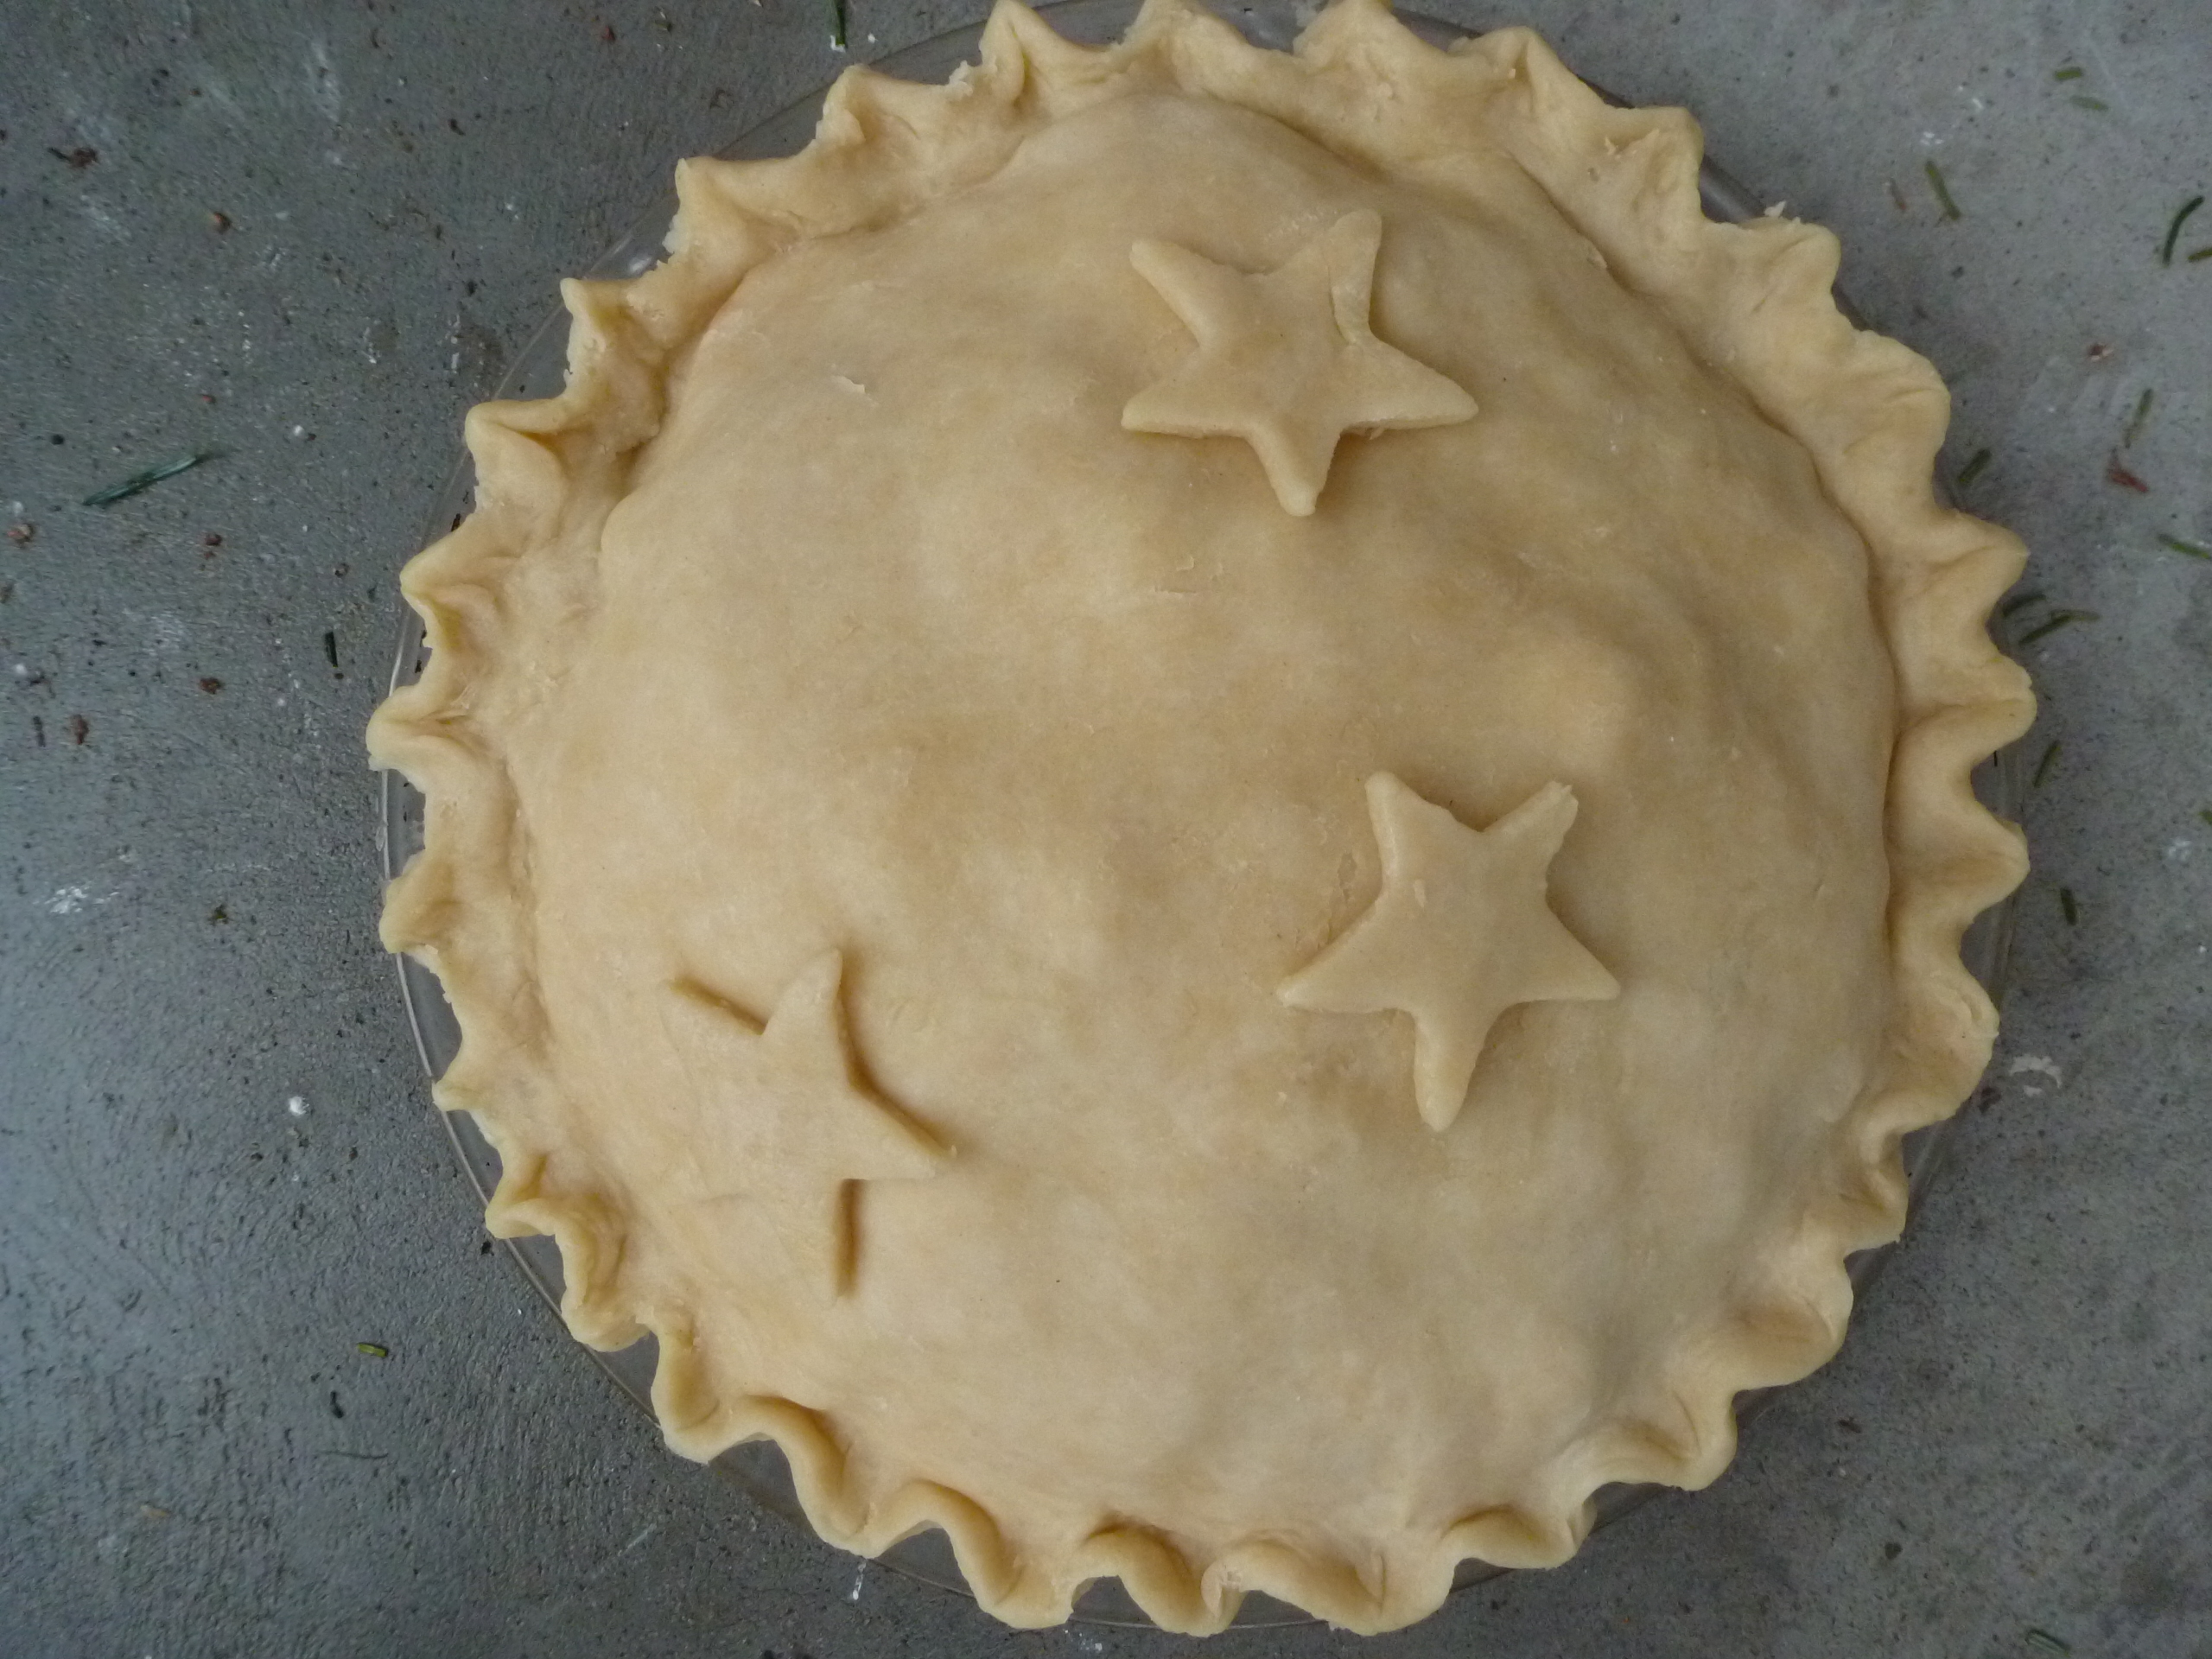
- When you are ready to bake it, discard the wrapping and gently cut some slits/vents in the top crust. I brush my crust with beaten egg at this point to make it glisten.
- If you made the pie in a metal pan, then bake it on a baking sheet in a preheated 375 degree oven for 1 hour and15 minutes, or until richly golden and bubbling.
- Here is the magic – you can cook it in the Pyrex glass pie plate the same way as in a metal pie pan- just be sure that the oven is preheated to 375 degrees before you put it in. That seems counter-intuitive because you would expect the glass to break if put in a hot oven. However, research has shown that the glass pie plate will break if you put it in a cold oven and then turn it on!

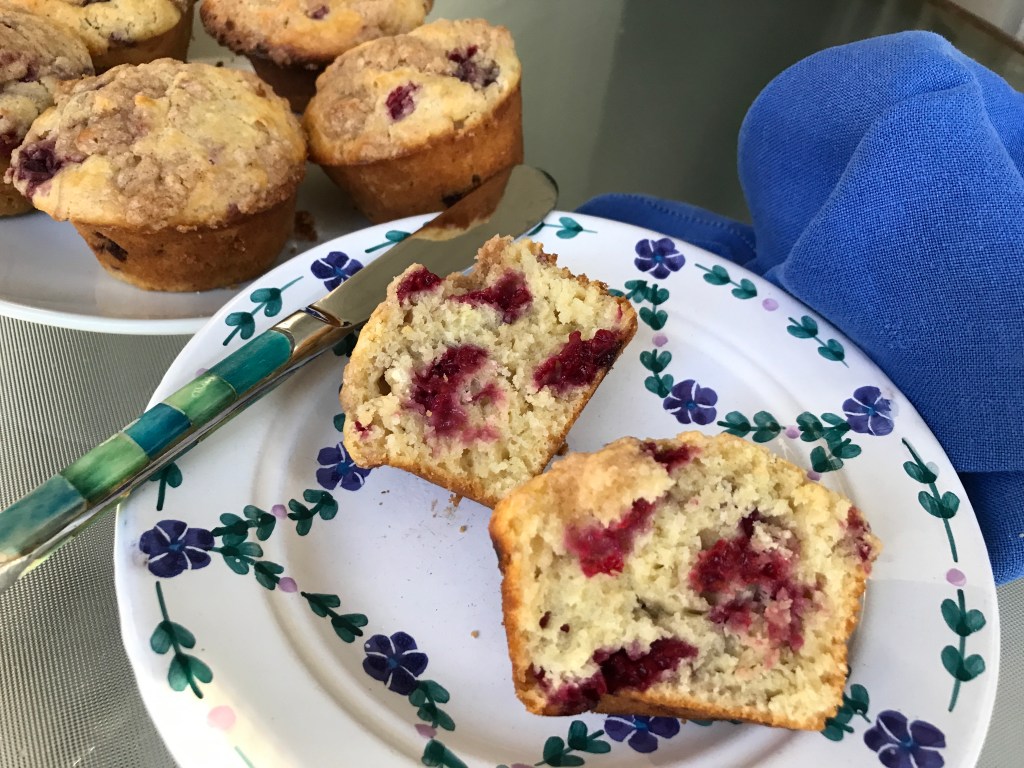
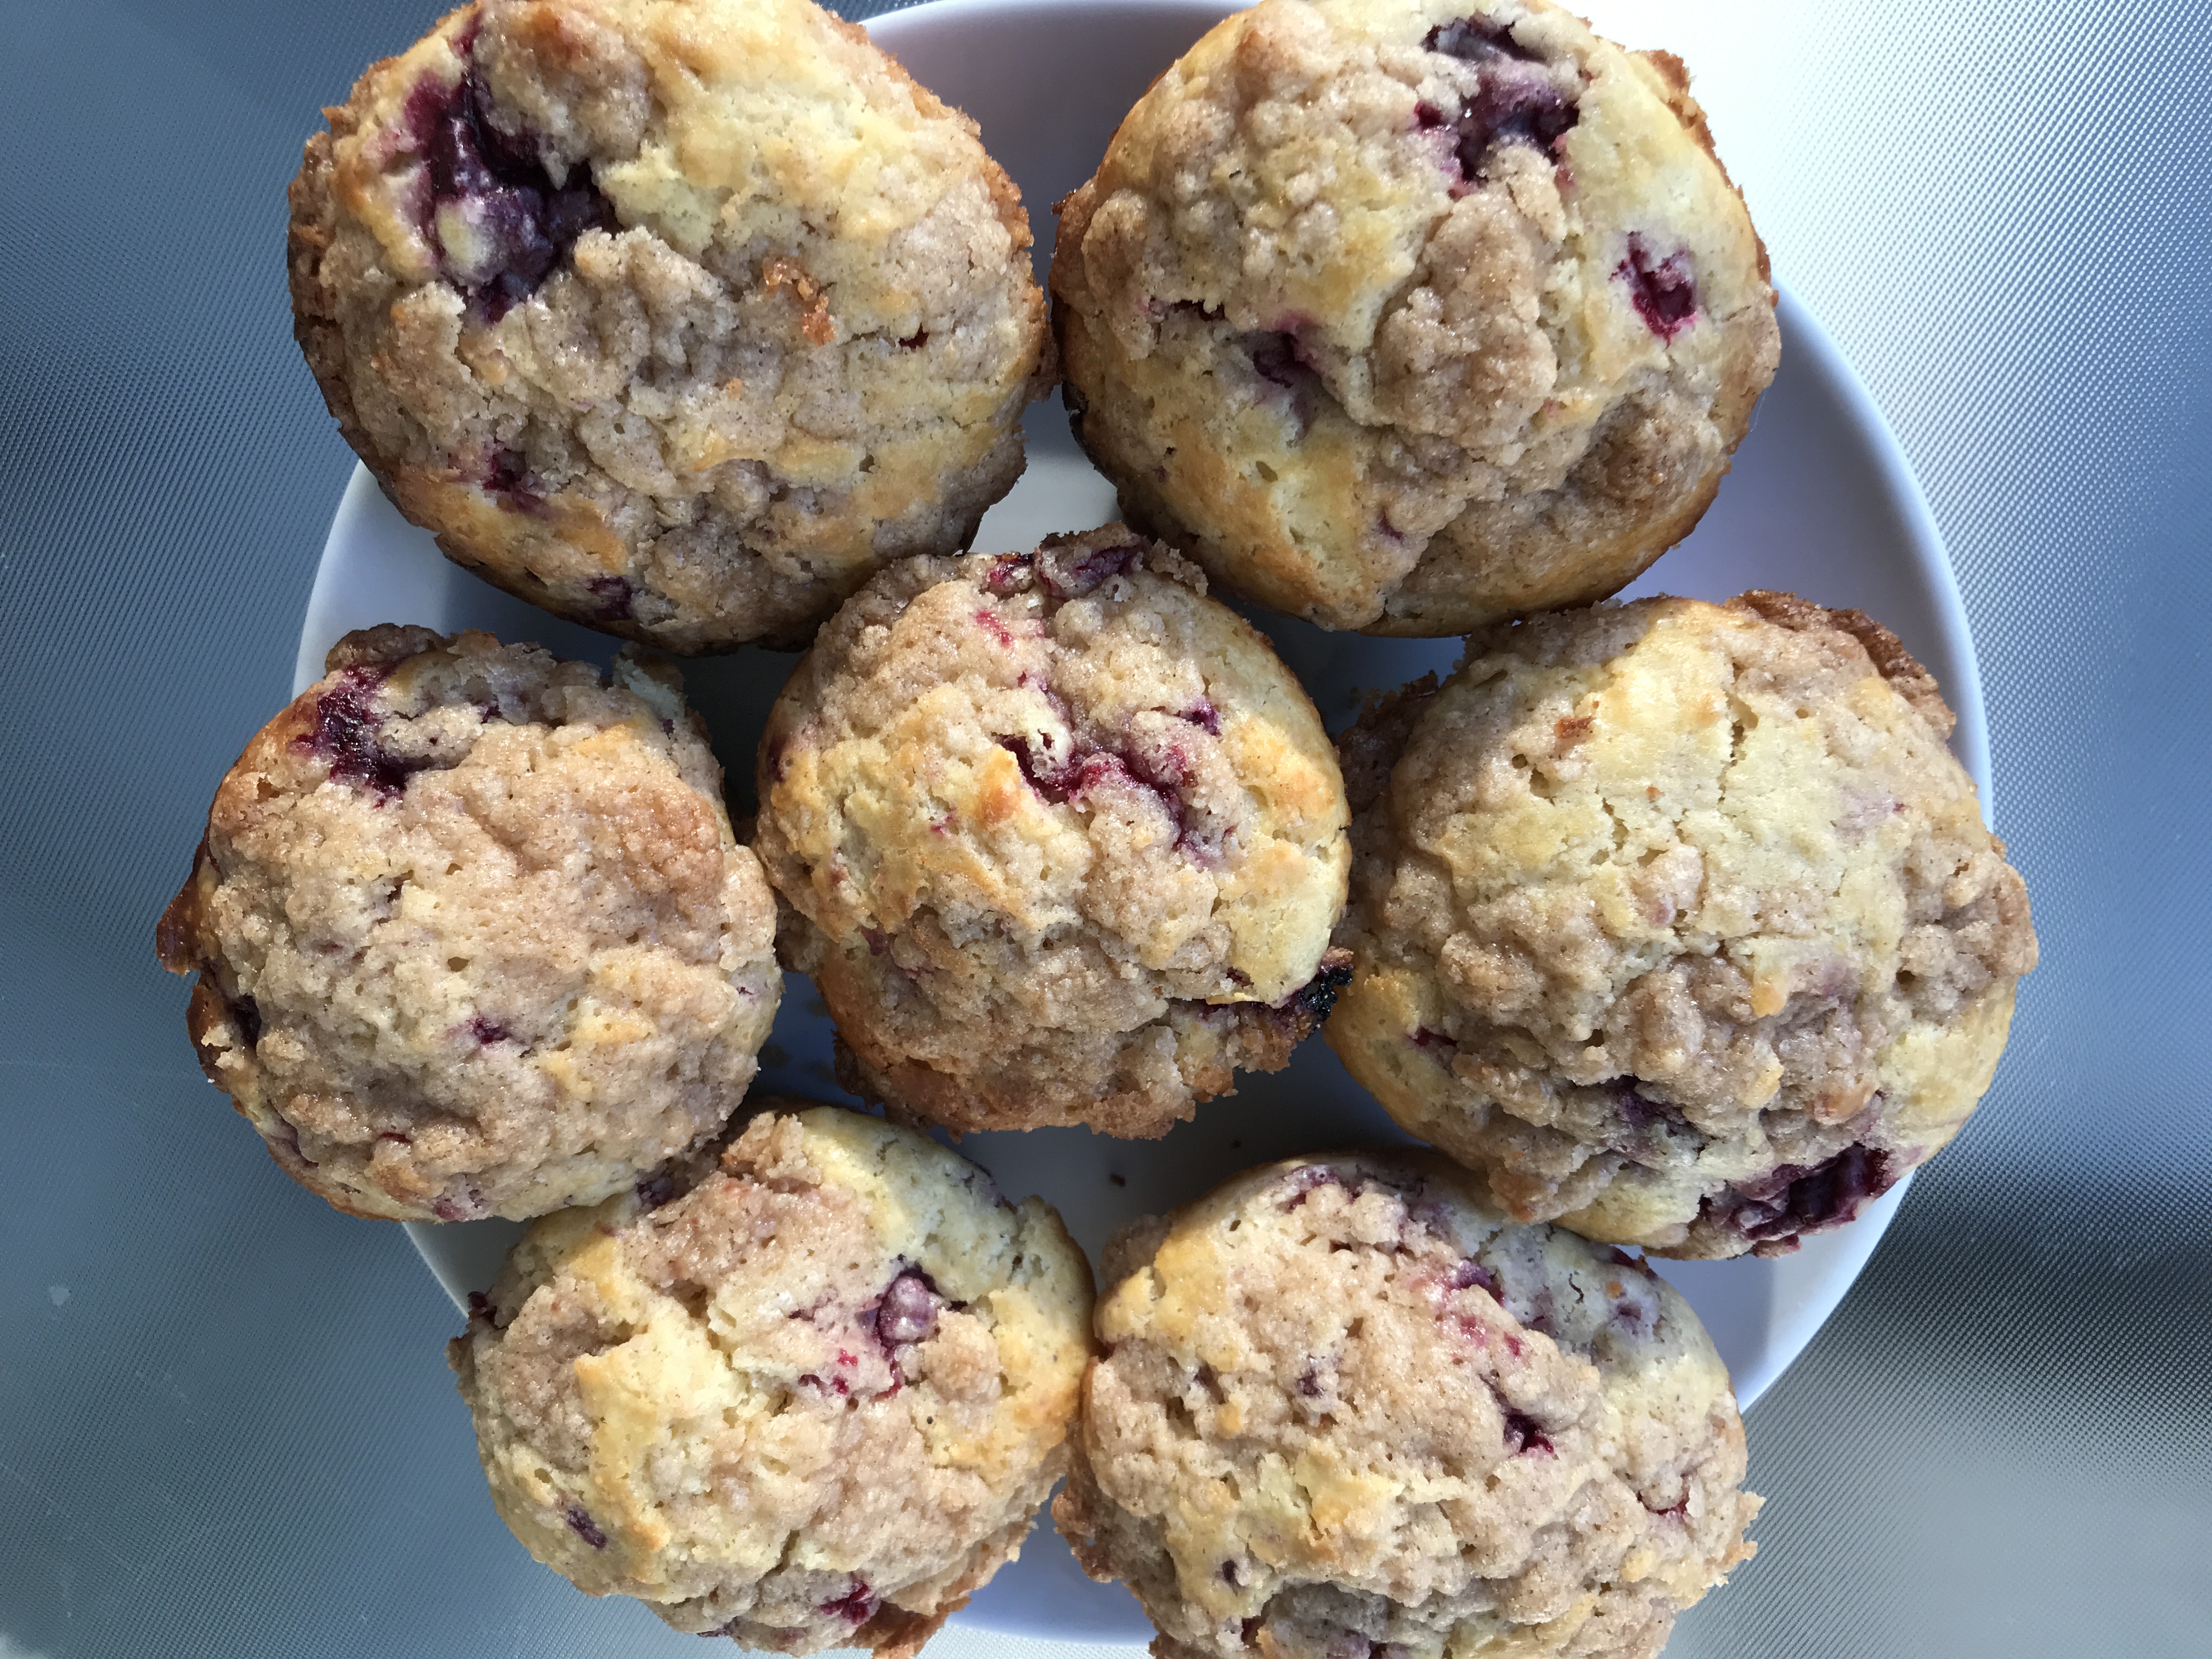
Here is my recipe for apple pie. You can make it as directed or follow the above instructions for freezing the pie uncooked. Your choice. Either way, it will be a knock out.

APPLE PIE
double recipe of Flaky Pie Crust (below)
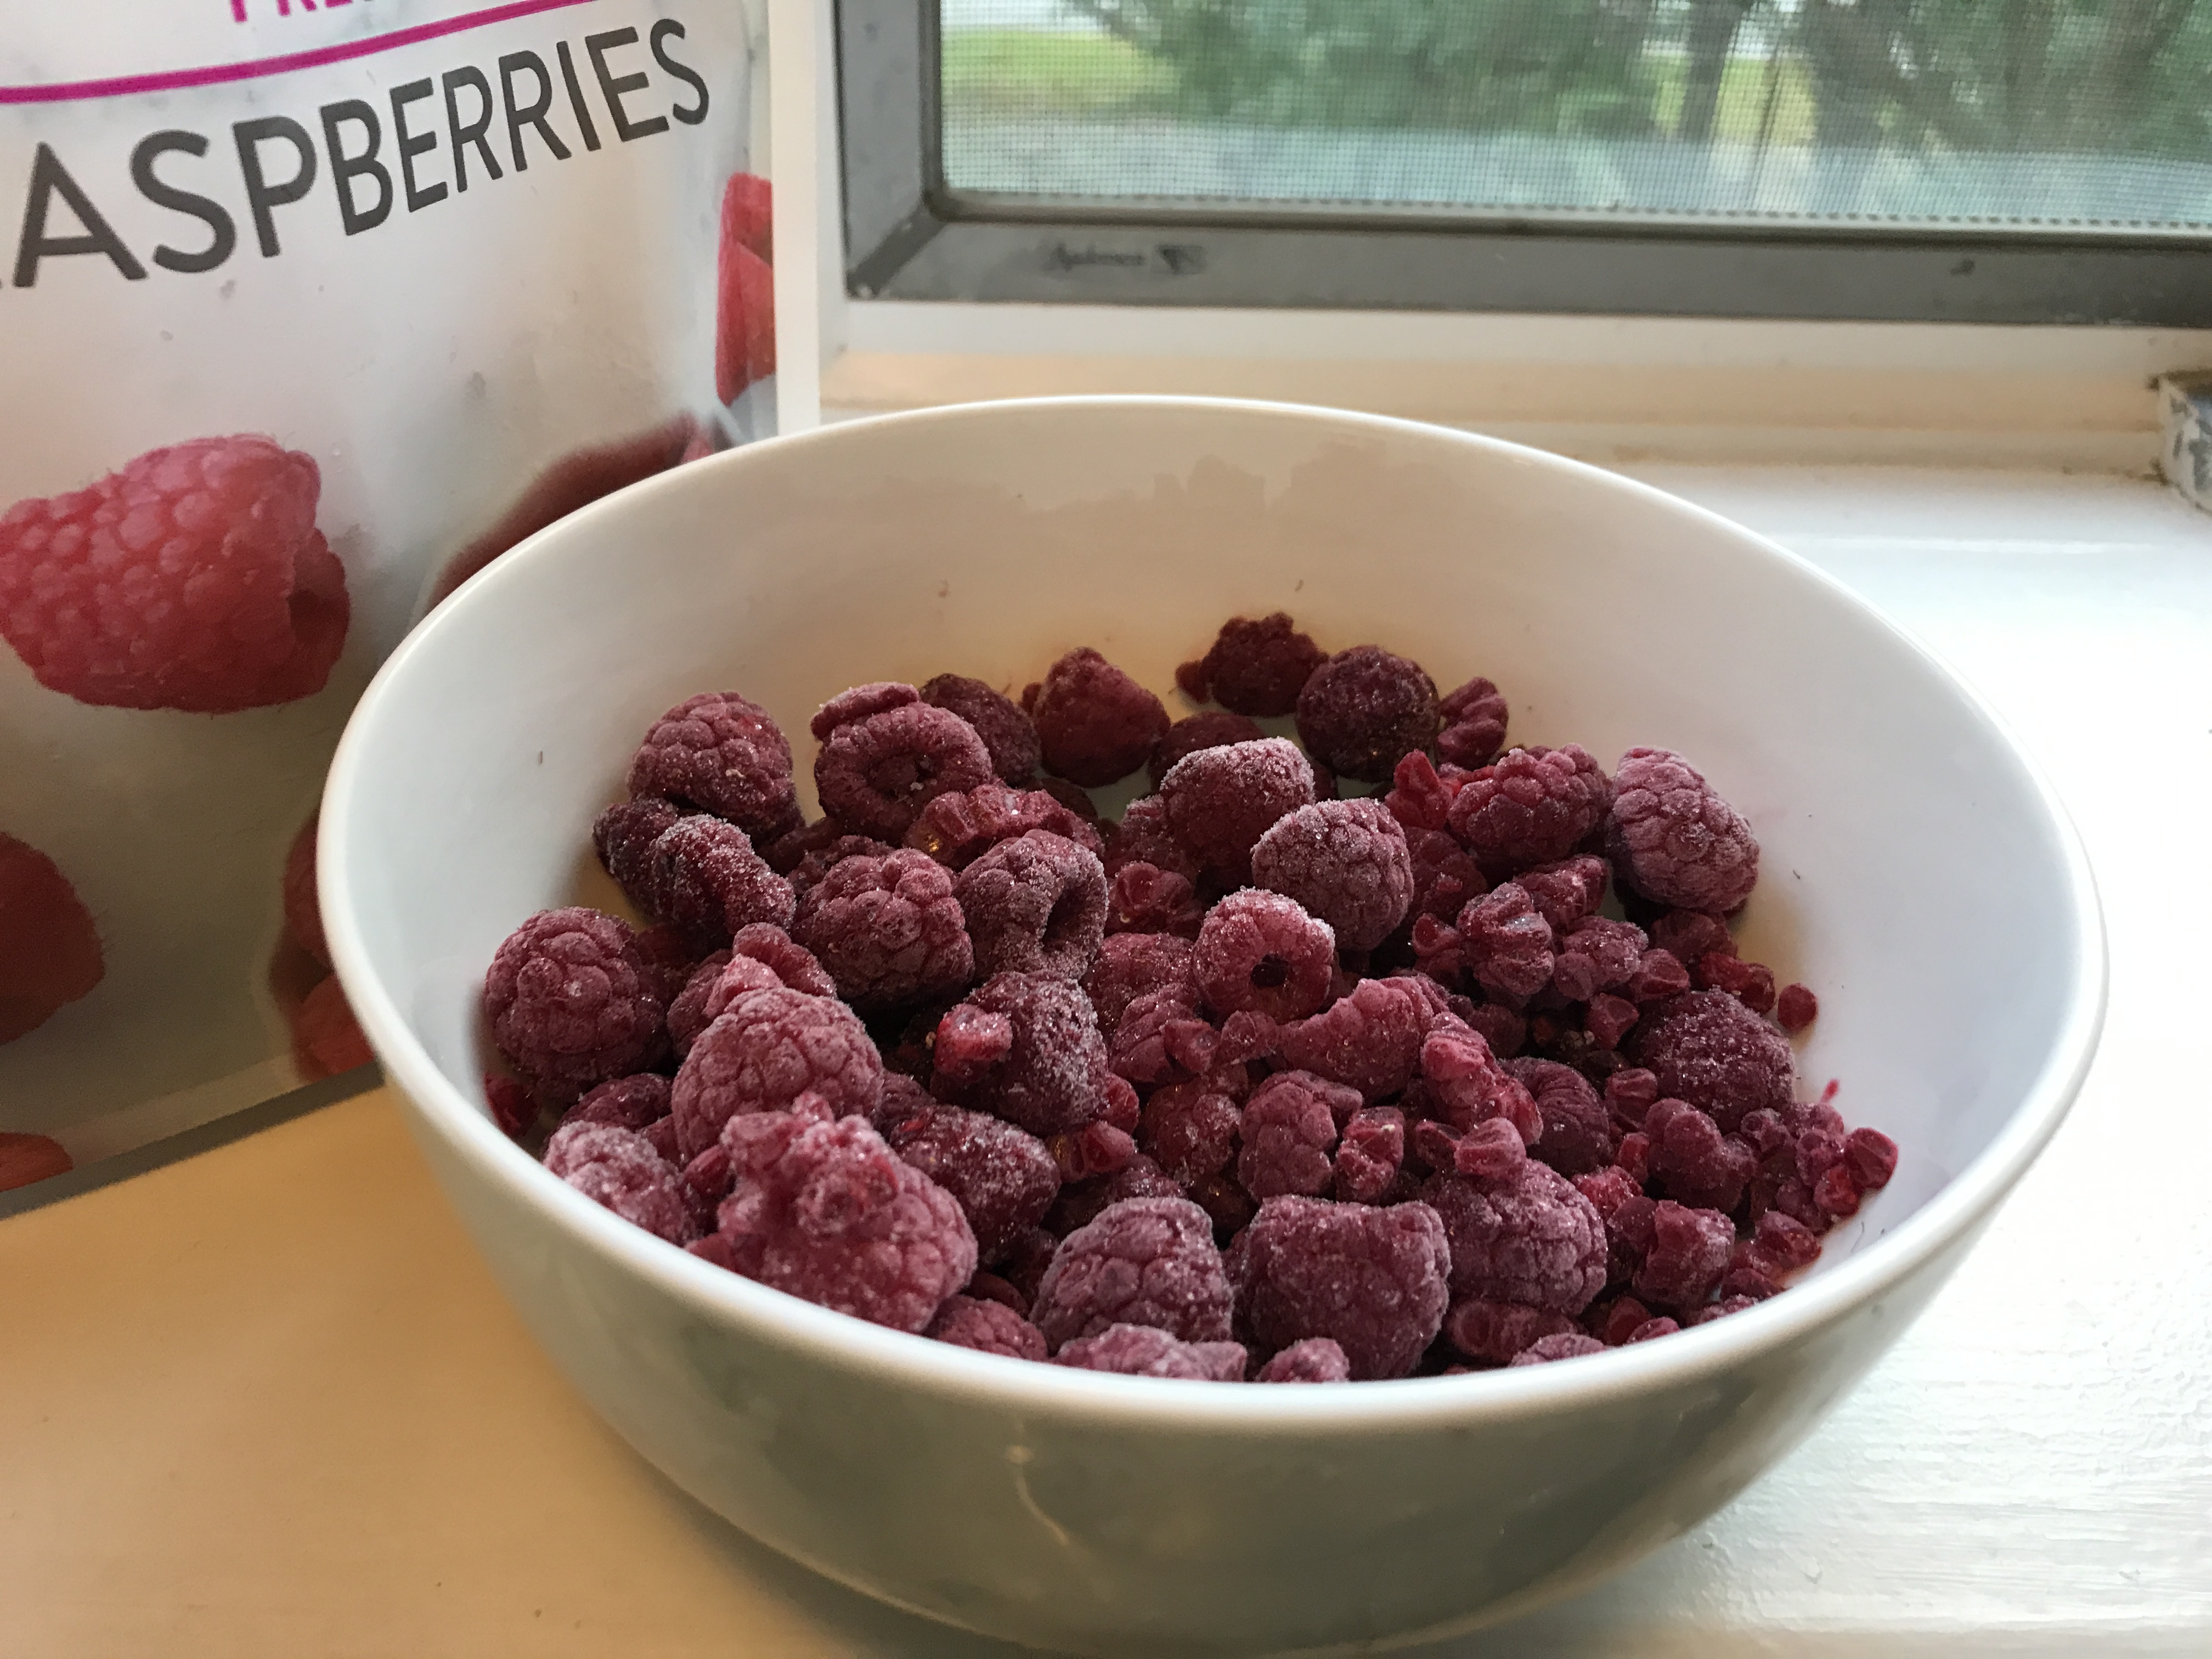
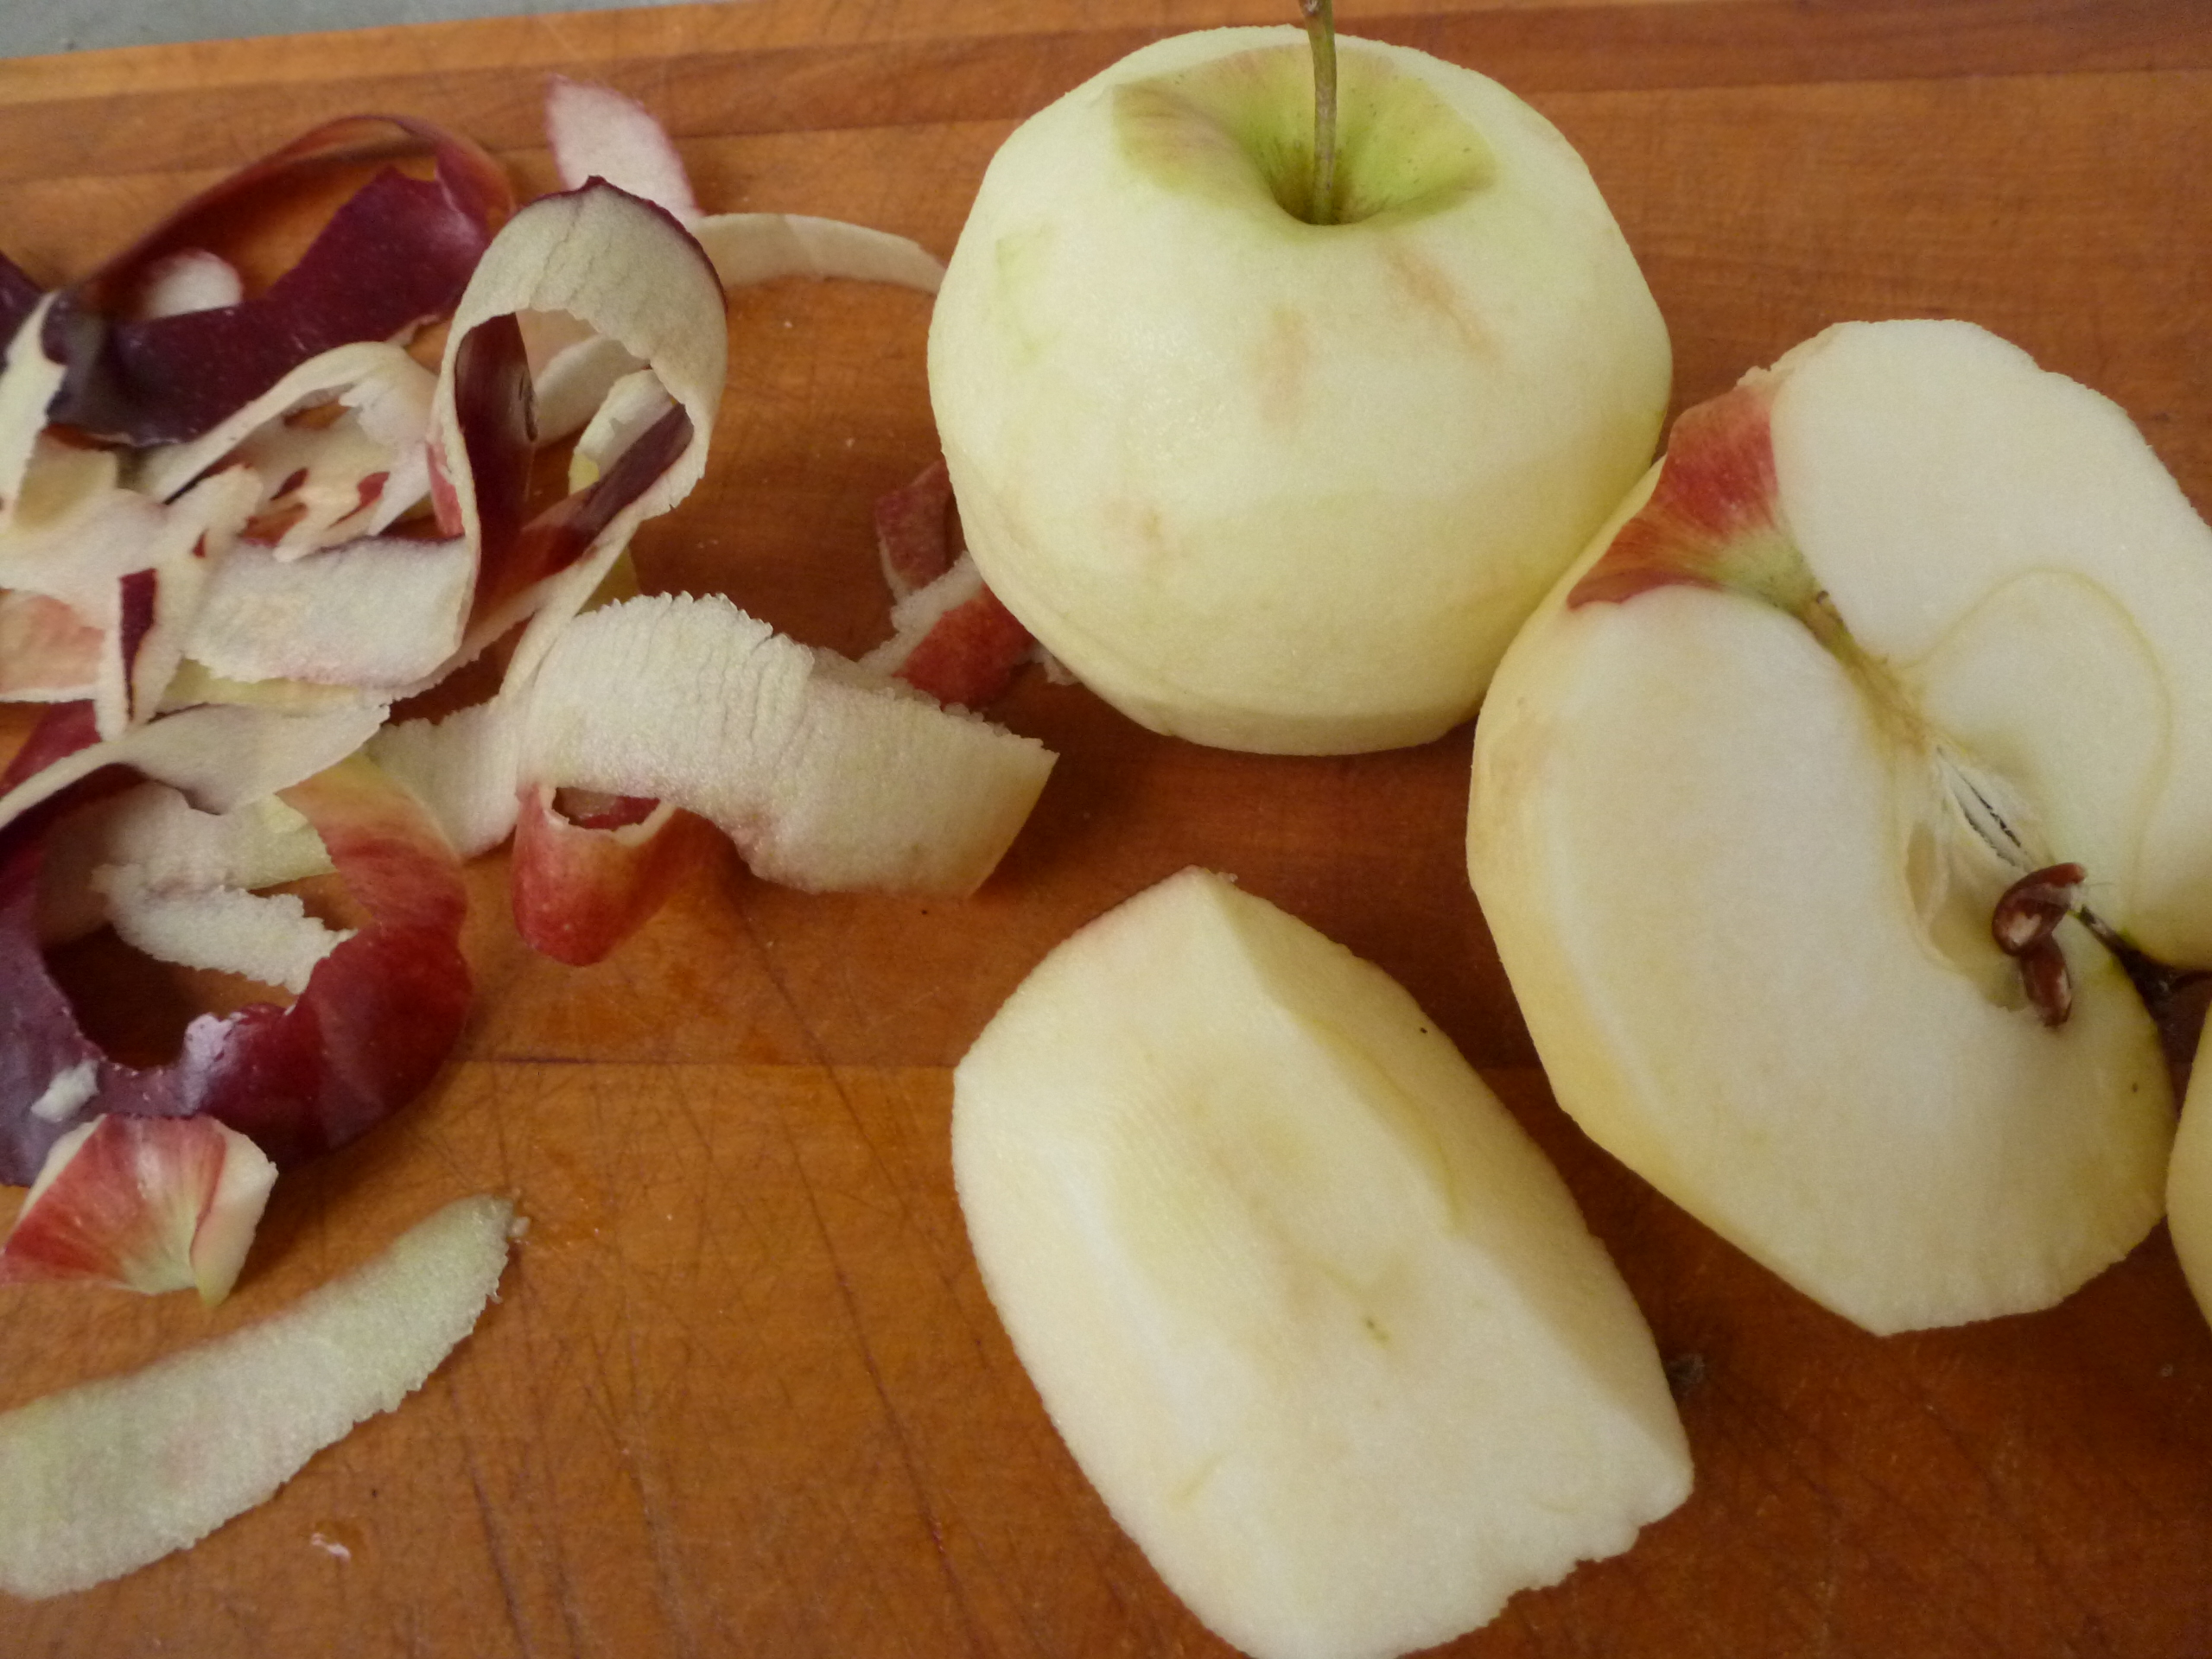
3 pounds apples, peeled, cored, and very thinly sliced (7 cups) (I like to mix varieties of apples, and always include McIntosh for their soft texture)
1 cup sugar
1 ½ teaspoons cinnamon
1 teaspoon vanilla extract
3 tablespoons cornstarch
1 ½ tablespoons butter
1 egg, beaten (optional)
1. Preheat the oven to 350 degrees.
2. Make a double recipe of the pie crust and roll out ½ of it. Line the pie plate (pan) with it.
3. In a large bowl mix together the apples, sugar, cinnamon, vanilla, and cornstarch. Toss to coat well.
4. Pour the apple mixture into the pie shell. Cut up the 1 ½ tablespoons butter and sprinkle it on top of the apples.
5. Roll out the remaining crust and lay it on top of the apples. With a knife cut a few slits in
the top crust to let the steam escape. Brush the crust with a little beaten egg.
6. Place the pie on a baking sheet before you put it in the oven. Juices spill out of the pie
while it is cooking and you need to catch them.
7. Bake 65-70 minutes, or until the crust is golden brown and the juices are bubbling out.
8. Let cool on a wire rack for 2 hours before cutting it.
FLAKY PIE CRUST
Creating a flaky, tender pastry is not a matter of alchemy, but instead requires following a few essential rules: always use cold butter so it remains in bits when it is blended with the flour; don’t overwork the dough; and make sure the pastry is cold when it goes in the oven to help the formation of flakes.
Makes one 9-10-inch crust
3 tablespoons ice water (see step #1)
1 1/4 cups unbleached flour
1/4 teaspoon salt
1 stick chilled, unsalted butter
1. Fill a glass halfway with some water and drop in an ice cube. Set aside.
2. In a large bowl combine the flour and the salt. Cut the butter into bits and drop them in the flour. Toss them around to evenly coat them. With your fingertips, a pastry cutter, or 2 knives, rub the butter into the flour until the pieces of butter are flattened and remain the size of dimes. You don’t want the pieces to be too small or they will melt too quickly in the crust and not create flakes.
3. In a small bowl or glass drop an ice cube into about ½ cup of water. With a measuring spoon remove 3 tablespoons ice water and drizzle it over the flour mixture. Gather the dough into a ball and knead it 3 or 4 times to make it pliable. Do not handle the dough much or it will get tough.(If your dough is very dry and crumbly, add a few more teaspoons of ice water.) Gather into a ball again, then flatten the dough into a disk. Wrap in plastic wrap and chill at least 20 minutes, or up to 48 hours.
4. To roll out the dough, let it come to a cool temperature rather than be ice cold because it will be too firm and crumbly if it is rolled when it is too cold. It must be cool; however, and not at room temperature because the butter bits must remain intact and not melt into the dough. Lightly flour your work surface, your rolling pin, and the surface of the dough. Roll the dough into a circle that is about 2 inches larger than your pie plate. Keep turning the dough as you roll it to keep it a perfect circle, and lightly flour underneath and on top if it at all sticks. Pinch together any areas that break.
5. Place the rolling pin in the center of the dough and fold one half of the pastry over it. Carry the pastry this way to your tart pan or pie plate and unfold it into the pan. Press it into the edges and trim away any excess. Place the pie plate in a plastic bag or cover with foil and chill at least 30 minutes or up to 24 hours before baking. You can also freeze the crust if thoroughly wrapped.